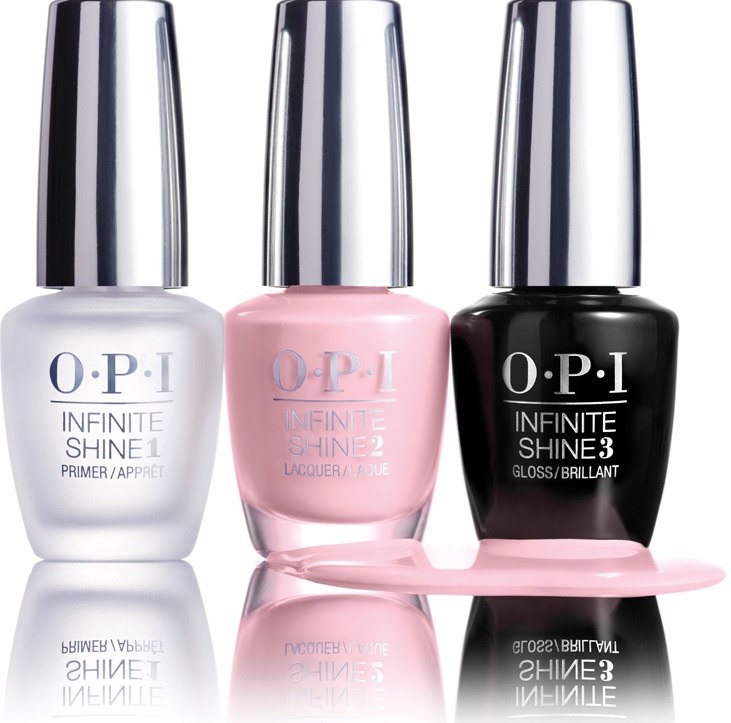
How to Apply OPI Gel Polish
OPI gel polish is the kind that can be used by everyone for a perfect looking finish. It immensely works well for those with a busy timetable because its application takes less time compared to the other type of polishes. This simply means that you can apply it wherever and whenever you want. For you to do this, however, you need to be aware of how to apply OPI gel polish. In this article, we will acquaint you with everything revolving around the application of the OPI gel polish.
Nail Prepping
Prepping the nails is the initial step to achieving a perfect OPI gel manicure. This is done because the process can only work well on dry and clean nails. When you are done the cleaning, follow it with a layer of OPI PH balancing agent that allows drying of the excess moisture from the nails. You might think that this step is not important but it is the main reason as to why the gel adheres to your nails. Note that skipping this step will make your nails only last for a week and not 2 or 3 weeks as it is supposed to last.

Initial Base
The OPI base coat should be applied in form of a thin layer. However, avoid applying too much of it because it would form a very thick layer that bumps off when the gel is exposed to the heat from the lamp. Peeling off will then occur and you will be left with an ugly looking polish. Make sure that you apply a similar amount to that of the usual polish. On the nail top, make sure that you apply another base layer to seal it. When you are done, pop in the fingers into the lamp so that they can dry up. The lamp will automatically switch off when the process is complete. Make sure that you do each of the thumbs separately when you are done with the other fingers.
Colour Time
Take your favourite OPI gel color and apply a thin layer. If the layer looks like it is not as thick as you wanted, do not worry because you will be required to apply the second layer. You can use a colour like the Big Apple Red or any other colour of your choice. Make sure as you apply the nail polish you start from the bottom centre point and spread it across to the area just next to the cuticle just using the brush. From the centre point of application, you can then stroke the brush upwards in order to apply even the other parts. When you are done, make sure that you remember to seal each nail at the top. You can then put the nails under the UV light for about 30 seconds.
Colour Again
Repeat the third step where you apply a second layer of colour coat. Make sure that you spread the gel evenly and make in a thin layer. This makes the colour to look much more opaque than the initial colour layer.
Apply the Top Coat
This is where you are required to apply the OPI top coat Gelcolor just like you did in the previous step. When this is done, you should make sure that you seal the top coat. When done, you can then put your fingers under the LED light for the layer to dry up.
Final Touches
Using a nails cleanser, you are required to remove the excess polish from the nails since after drying them up, they will be feeling a little more sticky than usual. This kind of cleanser can be found in the drug store under the name of isopropyl alcohol. All that you need to do is to spray the cleaner on a cotton pad and then wipe off the excess gel from each of the nails. It might take you a few more times to master the art of applying it eventually you will get it correct.
Conclusion
In order to make sure that you get the perfect OPI manicure, we have prepared all the possible DIY nails gel steps that you should follow. All the relevant information that you need to know has also been provided for the best results. Applying an OPI gel on the nails is not as complex as rocket science. Actually, it has some of the easiest steps that you can follow compared to the other sorts of a manicure. All the best as you go for the perfect look!